Assignment 3 Part 1 - MAKING A MINI BOWL
MAKING A MINI BOWL
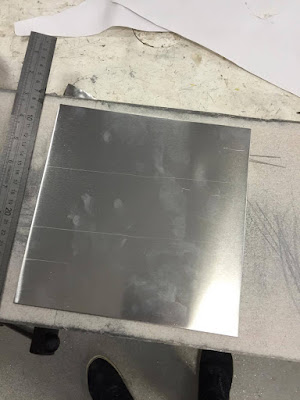
Step One
Cut out a square sheet of aluminium roughly 20cm wide.
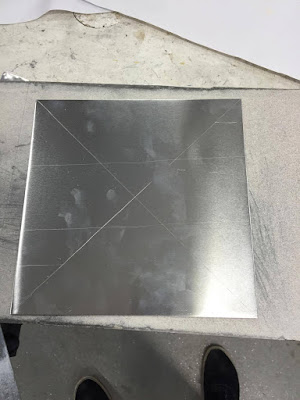
Step Two
Mark out the centre point of the square.
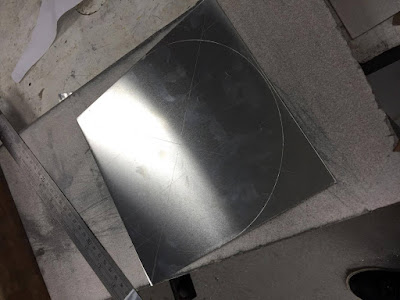
Step Three
Mark out a circle that has a diameter of roughly 19cm.
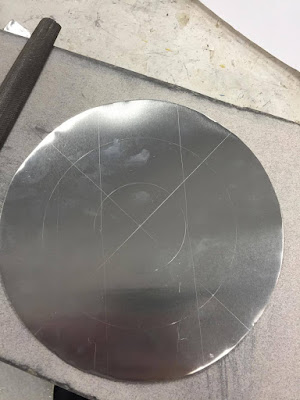
Step Four
Cut out the circle and clean up the edges using a file.

Step Five
Mark out two circles on the sheet equal distance from each other, the centre of the sheet and the edge of the sheet.
Step Six
Now grab a wooden mould with a bowl incut and work your way around the outer circle shrinking it until the edge starts to pucker and curve up.


Step Seven
After you've worked your way around the outside edge, grab a sandbag and start hammering around the inside circle to stretch it and create the bowl shape.


Step Eight
Next, hop on the English Wheel and stretch out the bowl to make it more rounded and clean up the bumps

Step Nine
Once you've rounded out the bowl, grab a metal headed hammer and work your way around the outside edge of bowl creating an even and nice edge

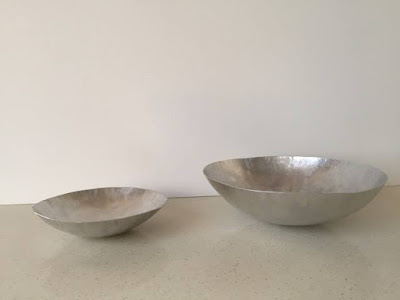
Final
The same technique of using simple shrinking and stretching can be used to create any size bowl. By varying the amount of stretching and shrinking you can alter the depth and the size of the bowl allowing for a variety of shapes.


Comments
Post a Comment